Getting started

Blipit takes three things to start: a free account, a project for the app you want watched, and one install step in that app. Most installs are a single line: every platform has its own Blipit SDK, built on Blipit's own core and with no third-party monitoring library inside.

Video: Install Blipit in any stack

1Create an account and a project

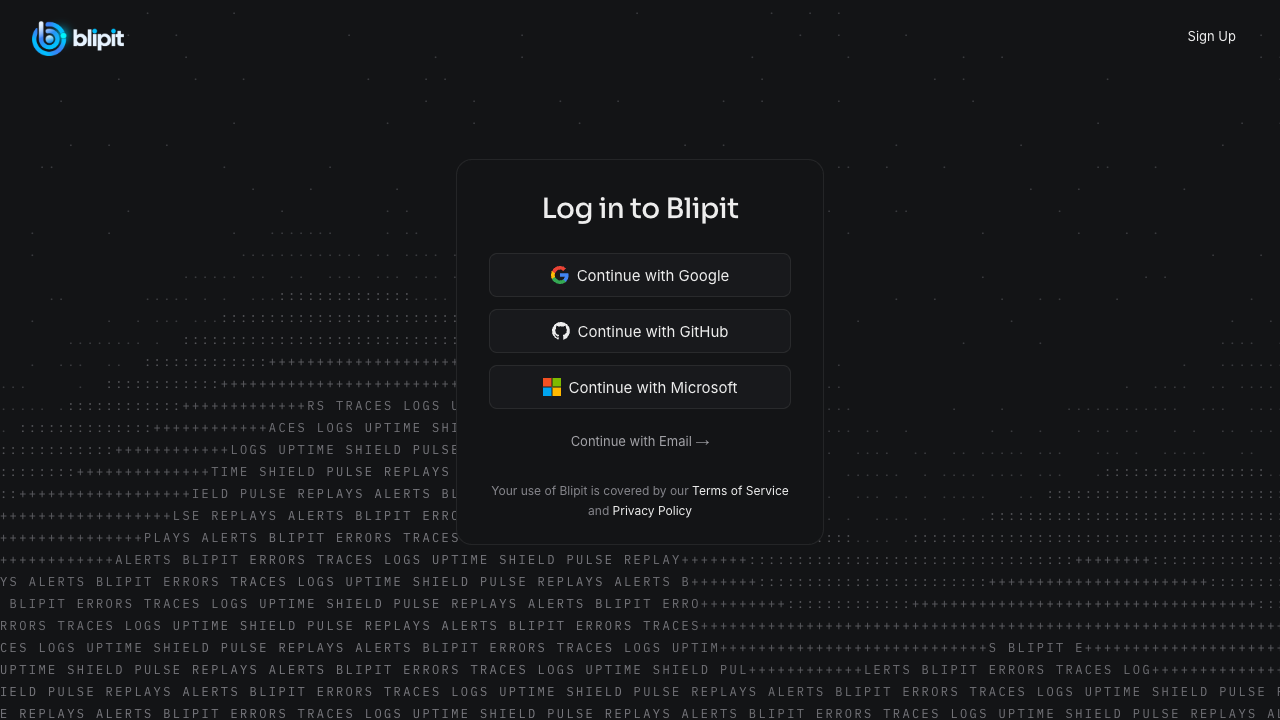
Sign up at app.blipit.io with Google, GitHub, Microsoft or an email link, accept the Terms, and press Add project in the top bar. One project per system you want tracked separately: production and staging are two projects, and so are two Odoo databases.

The sign-in page at app.blipit.io: Google, GitHub, Microsoft or an email link.

2Find your way around

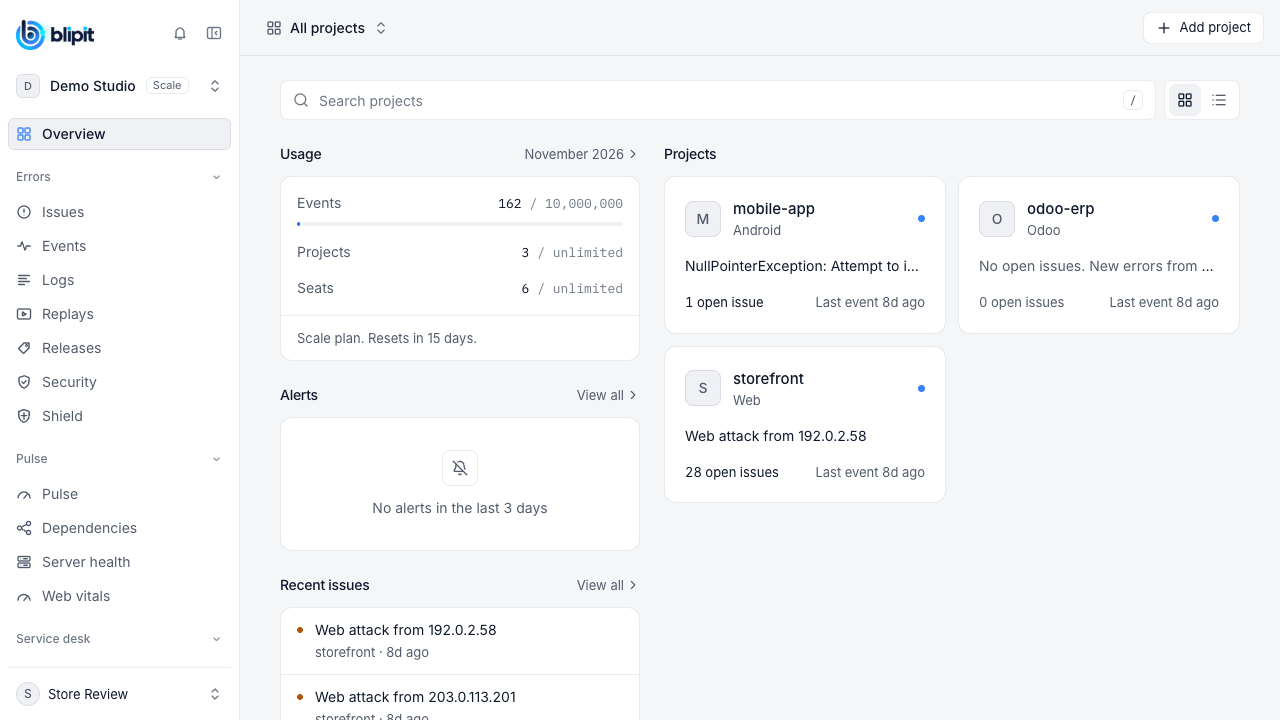
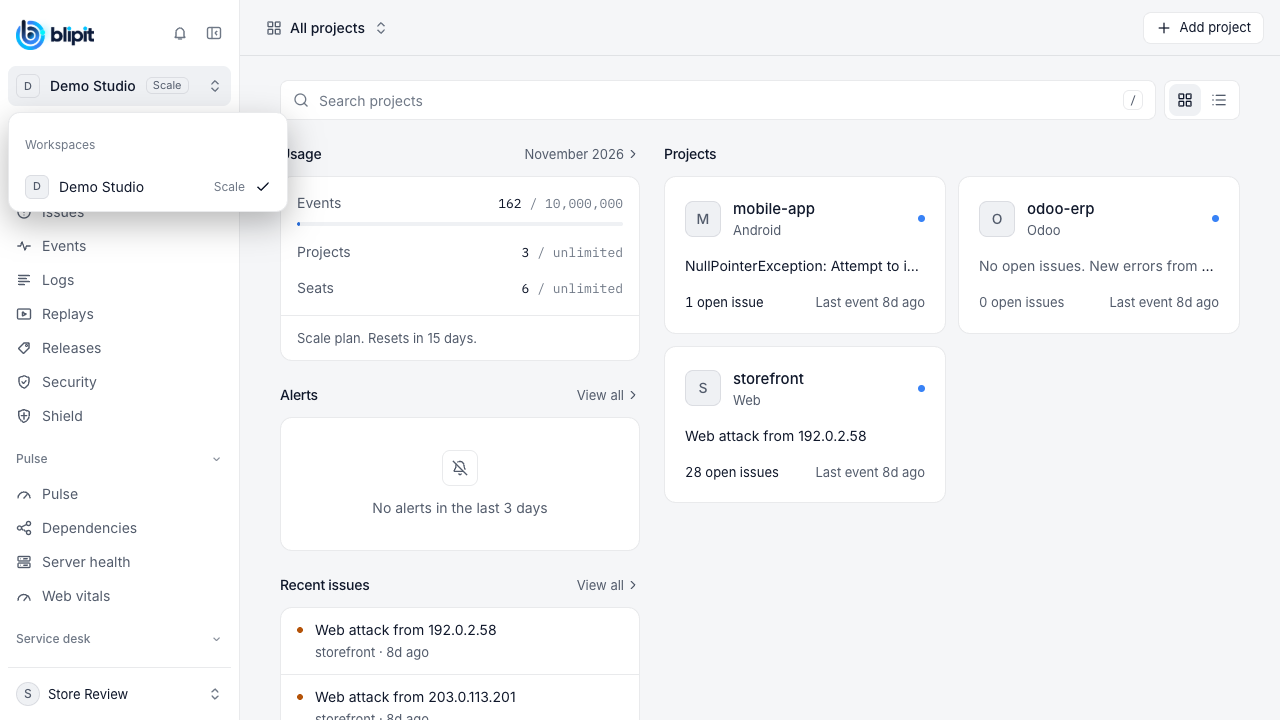
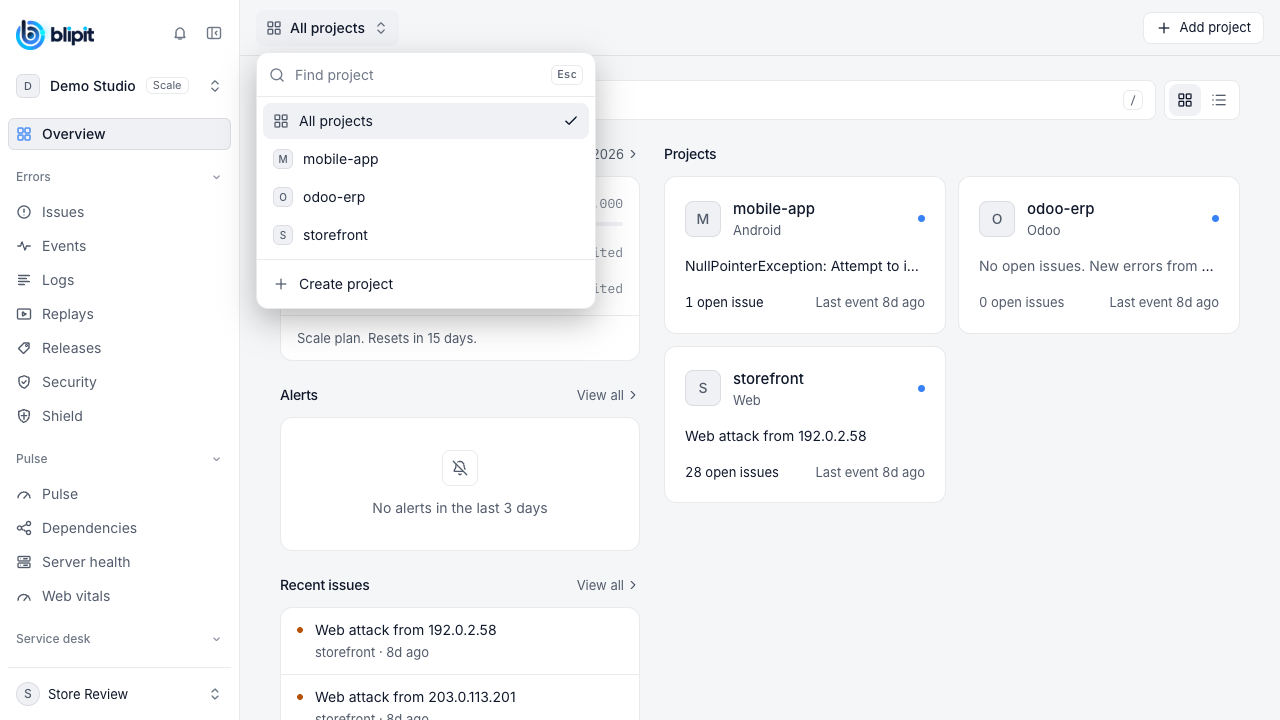
The Overview is the first page after sign-in. Search projects (or press /) filters your projects, and the two buttons next to it switch between a grid and a list. The left column shows Usage, Alerts from the last 3 days and Recent issues. Each project card shows its latest open issue, how many issues are open and when the last event arrived. The workspace switcher at the top of the sidebar shows your workspace and its plan, and lists every workspace you belong to. The project switcher in the top bar starts at All projects: open it, type in Find project to filter, pick a project or press Create project, and Esc closes it.

The Overview: Usage, Alerts and Recent issues on the left, a card per project on the right.
The workspace switcher at the top of the sidebar, with each workspace and its plan.
The project switcher in the top bar: Find project, the project list and Create project.

3Get the keys

Open API keys in the sidebar. The public key goes into browser code and can only submit events, so it is safe for anyone to see. The secret key stays on your server or in Odoo; it can read and change issues, so it is shown once when created.

4Pick your platform

Any website, Next.js and React, Node, Python, PHP, Ruby, Go, Java, .NET, mobile, and Odoo each have a guide in the sidebar. Each one ends with a check that the first event arrived.

5Set who gets told

Under Alerts, add email rules, or connect Slack, Microsoft Teams, Jira or Linear under Integrations. On-call schedules and escalation live under On-call.

Good to know

  • One project per app and platform: each project picks its platform when it is created (Android, iOS, React Native, Flutter, Web, Backend or Odoo), and Blipit refuses data from any other platform with a clear error, so an iOS app and an Android app need two projects with two keys. Releases, versions, crash rates and store builds differ per platform, so mixing them in one project makes all of them wrong. A Web project also takes the server side of the same web app (the Next.js server or Node), and a React Native or Flutter project also takes its own native Android and iOS crash reports.

Stuck? Email support@blipit.io. Keys and the project id for each project are under API keys in app.blipit.io.