
Install by platform
Odoo
Install Blipit Error Monitoring on the Odoo Apps store
The Blipit module catches every Python traceback and JavaScript error in your Odoo, lists the issues inside Odoo, and knows the user, request and company. Each database connects to its own project with a secret key.
1Install the module
Download it from apps.odoo.com (blipit_monitor, free) for your Odoo version and install it like any module: Apps, Update Apps List, install Blipit Error Monitoring. Odoo Online does not allow third-party apps; Odoo.sh and on-premise do.
2Get your keys
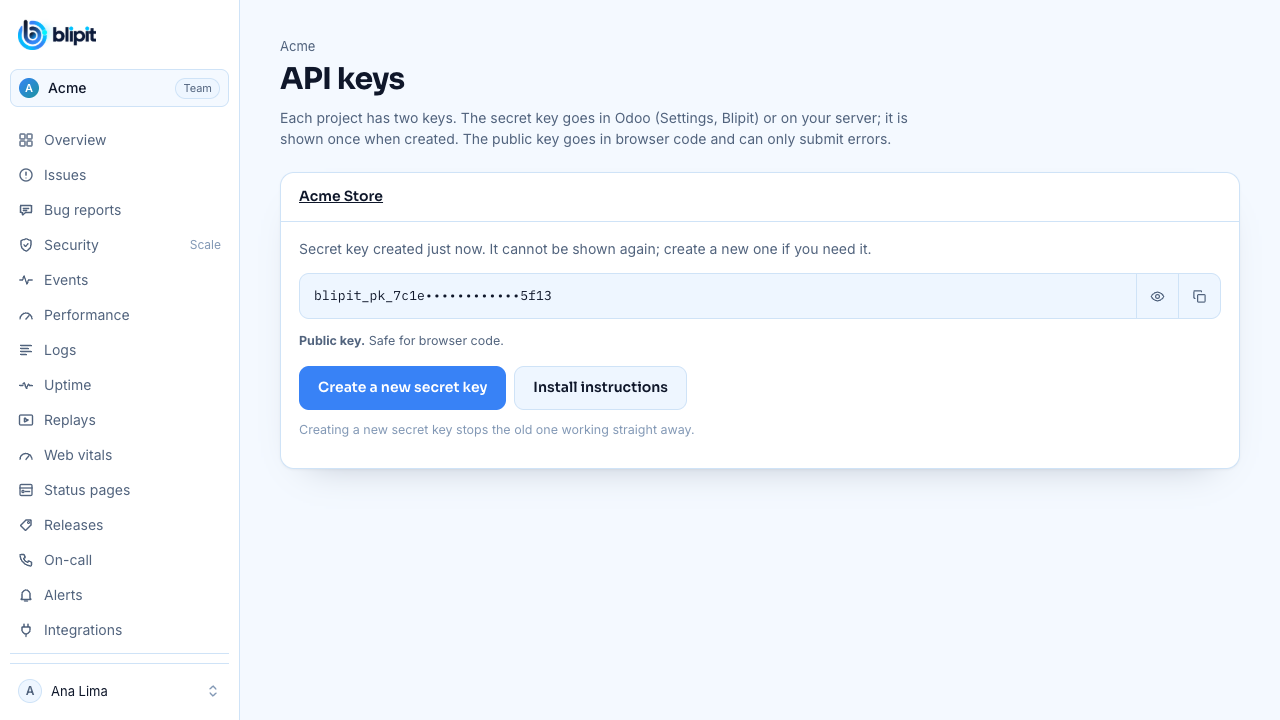
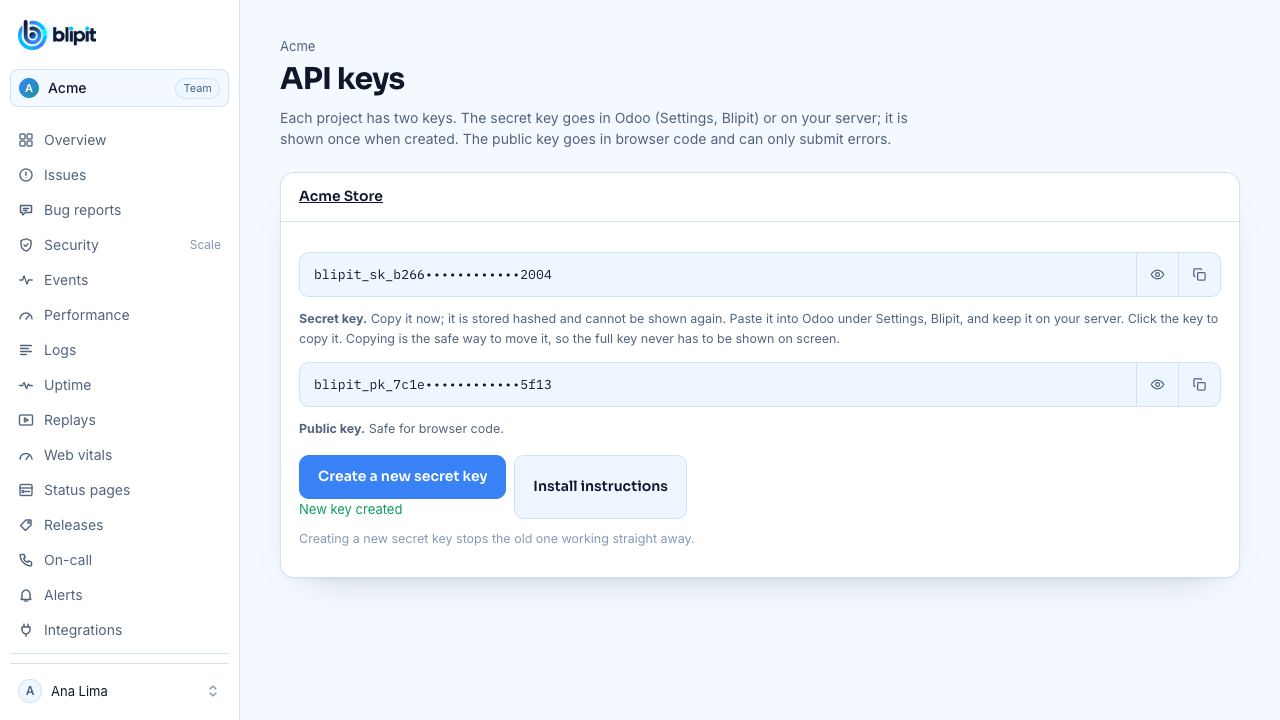
Sign in at app.blipit.io and open API keys in the sidebar, then your project. Every project has two keys. The public key starts with blipit_pk_: it goes in browser and app code, can only send events, and is safe for anyone to see. The secret key starts with blipit_sk_: it stays on your server or in Odoo, never in a browser, because it can also read and change issues. The secret key is shown only once, right after it is created, so copy it then; if you lose it, press Create a new secret key, and the old one stops working at once. Some SDKs also need the project id, shown on the same page.
3Connect
Settings, Blipit: paste the project's secret key, tick the agreement to the Terms and the module licence, and press Save. It connects on its own and shows Connected to <project>. A public key or a key already bound to another database is refused with the reason.
4People in charge
Pick who gets emailed, per company if you have several. Each person takes one seat of your plan; Blipit checks the count when you save.
5Bug reports from Odoo
The module adds the Report a bug button to Odoo for you; there is no code to write. Under Settings, Blipit, Bug reports, Shown to, choose who sees it: Internal users, Website visitors, Both or Nobody, and optionally limit internal users to one group. Reports carry the model, record and field the person was on, and the signed-in user's name and email are filled in. Position, colour, text and style come from app.blipit.io, Project settings, Bug report widget. See the Bug report button guide for every option.
6Check it works
Open the Blipit app in Odoo. The next error shows up there and in the people in charge's inbox. Click Refresh from Blipit to check straight away.
Good to know
- One key per database. A restored copy of production carries production's identity and is refused until it gets its own; give it a new database.uuid and its own project.
- Login monitoring (Scale plan) reports failed, blocked and successful sign-ins, never the password.
- What changed in each version: blipit.io/changelog.
- Odoo Workflows: from module 1.15.0, Blipit shows the success rate, the people affected and the documents waiting for every Odoo business step, with no setup. See the Odoo Workflows guide at blipit.io/docs/odoo-workflows.
- Odoo performance: from module 1.18.0, Blipit shows the slowest buttons, screens and scheduled jobs in your Odoo, the repeated queries behind them with the line of code, and your database health. See the Odoo performance guide at blipit.io/docs/odoo-performance.
- Keeping Blipit up to date: the Keeping Blipit up to date guide (docs.blipit.io/updates) explains the update banner, the emails for important releases, the notice in your development console and the update command for this platform.
- One project per app and platform: each project picks its platform when it is created (Android, iOS, React Native, Flutter, Web, Backend or Odoo), and Blipit refuses data from any other platform with a clear error, so an iOS app and an Android app need two projects with two keys. Releases, versions, crash rates and store builds differ per platform, so mixing them in one project makes all of them wrong. A Web project also takes the server side of the same web app (the Next.js server or Node), and a React Native or Flutter project also takes its own native Android and iOS crash reports.
Stuck? Email support@blipit.io. Keys and the project id for each project are under API keys in app.blipit.io.